CandleWise - Part 1: Environment Setup
Introduction
CandleWise is a portfolio management app that I built as part of my exploration journey into .NET Core development. This series documented my learning process with Visual Studio, Docker, and deployment to Azure. While this was a learning project rather than a real-world application, I shared all the steps as I discovered them. In that guide, I covered setting up a development environment by installing Visual Studio 2022 and .NET Core 6.0 SDK, then creating an ASP.NET Core Web API project as my foundation.
I chose .NET Core 6, an open-source, cross-platform framework from Microsoft, for this learning project. As I explored its features and capabilities, I documented how its tools and libraries could be used to build a simple portfolio tracking system, which helped me understand the fundamentals of modern .NET development.
After setting up my environment, I created my first model and configured the API. This established the groundwork for how data was stored and how client-server communication worked. I set up endpoints for creating, reading, updating, and deleting data—critical operations for any portfolio management system.
Setting Up the Environment
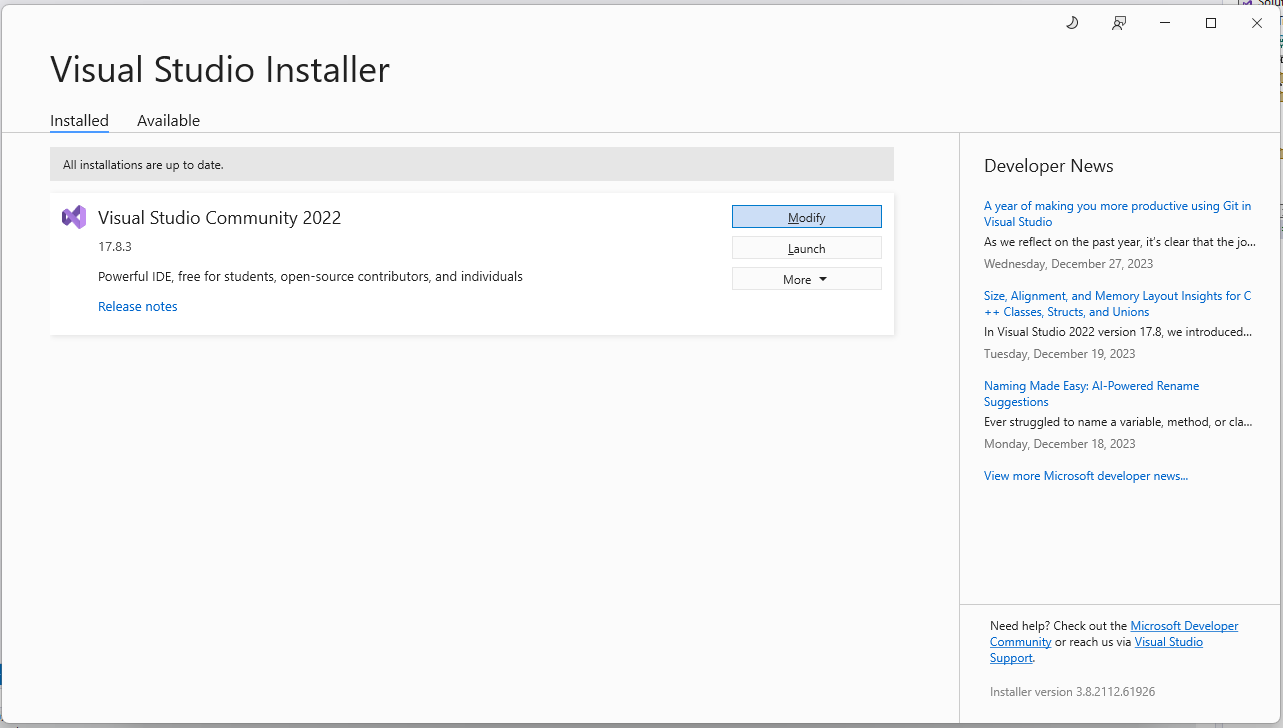
The foundation of any successful software development project lies in a well-prepared development environment. For developing my stock exchange system with .NET Core 6, I used Visual Studio 2022 and .NET Core 6.0 SDK.
First, I downloaded and installed Visual Studio from the official Microsoft website. I started with the Community Edition that was free to use. I made sure to install the .NET Core 6.0 SDK, which provided me with all the necessary libraries and command-line tools needed for .NET development.
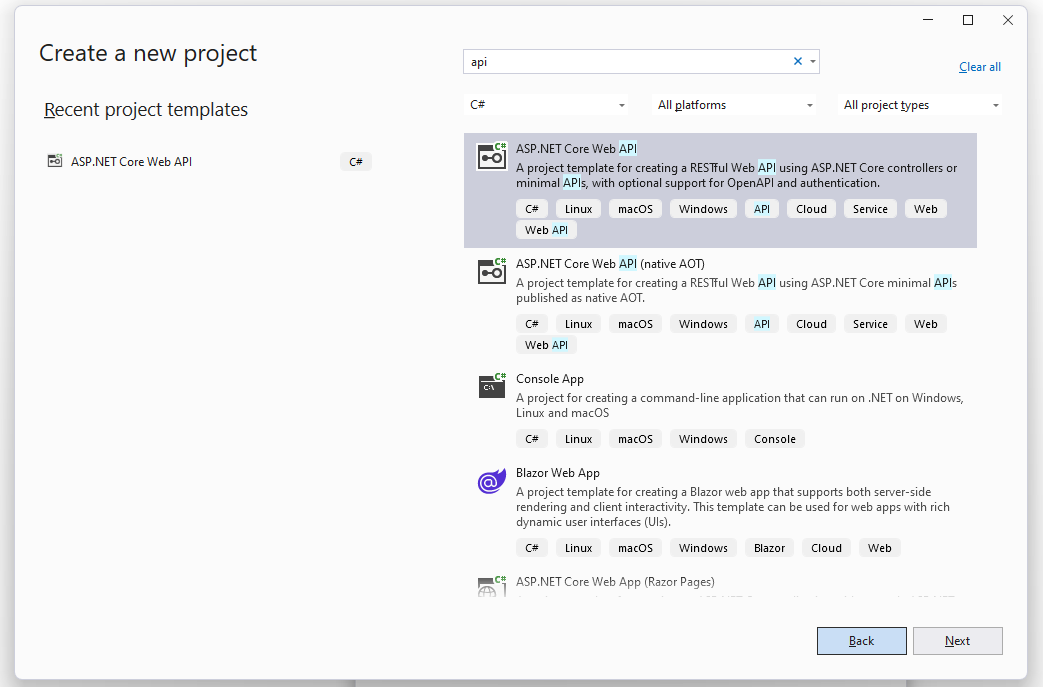
Next, I created a new project in Visual Studio. In the ‘Create a new project’ window, I searched for ‘ASP.NET Core Web API’. I selected the ‘ASP.NET Core Web API’ template, then clicked ‘Next’.
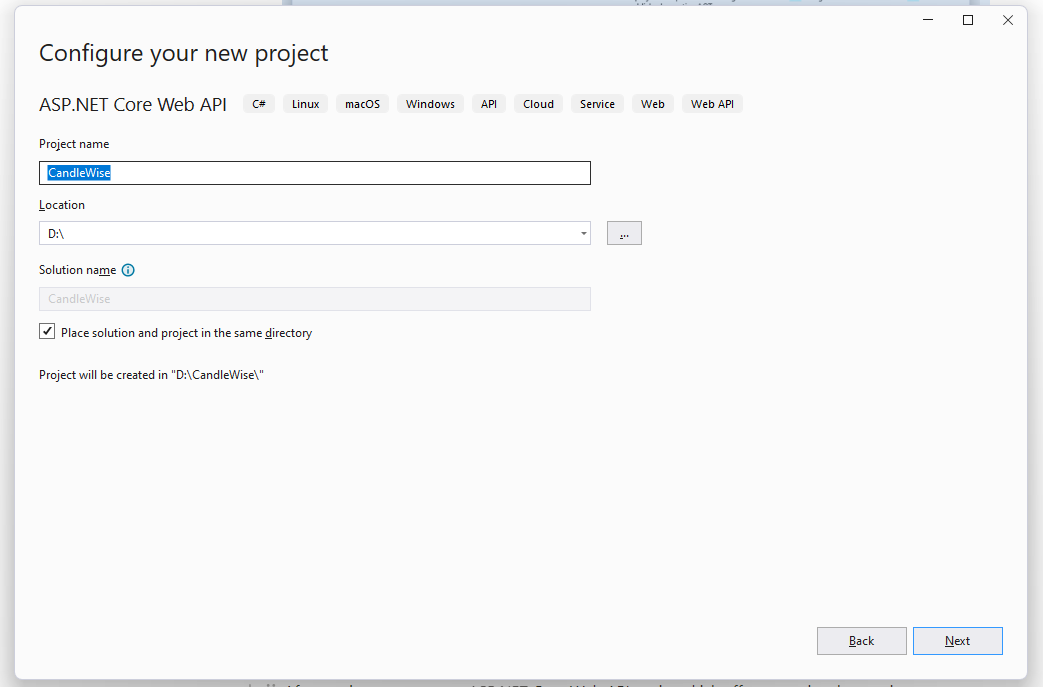
I provided a name and location for my project, then clicked ‘Next’. This set up a new ASP.NET Core Web API project, which became the backbone of my stock exchange system.
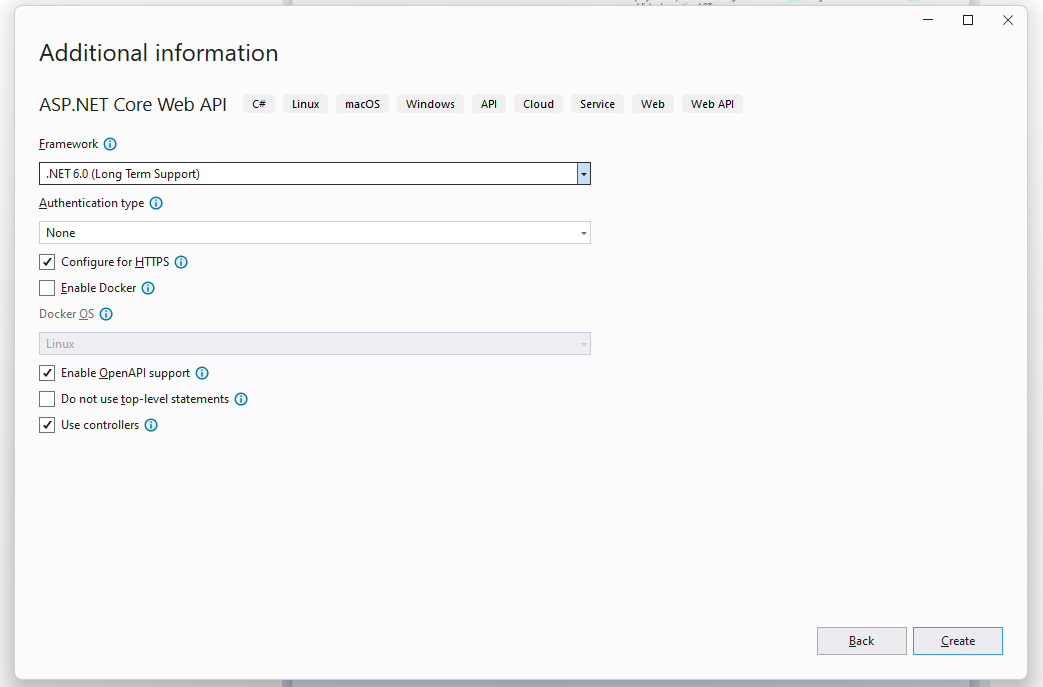
In the “Additional Information” dialog box, I chose “.NET 6.0” from the “Framework” dropdown. I checked the options “Configure for HTTPS”, “Enable OpenAPI support” and “Use controllers”. These settings ensured my project was set up with secure communication, API documentation, and a more traditional MVC-style controller structure. Finally I clicked “Create”.
Creating the Stock model
With my environment set up and my project initiated, the next step involved creating the application’s core - the Stock model. This model was a fundamental component; it represented a stock’s data structure, including attributes such as name, price, and quantity. Initially, I filled it with dummy data for a few stocks. This step was vital for testing the API’s functionality and verifying its correct interaction with the model before moving on to more complex operations.
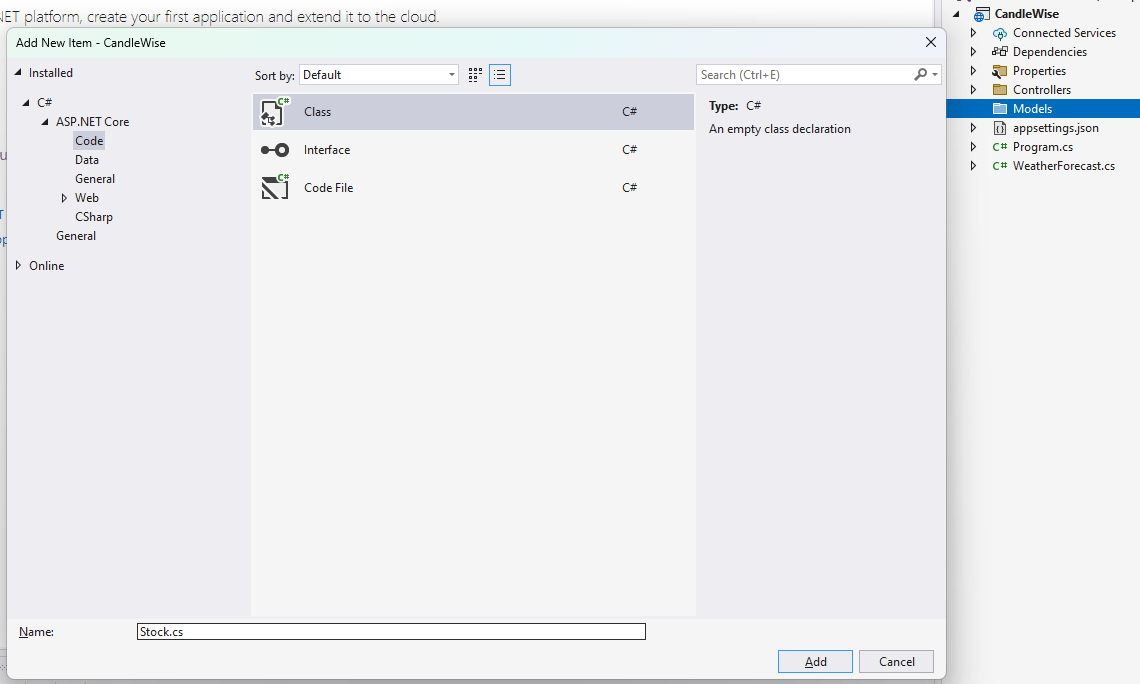
I started by creating a new ‘Models’ folder in my project. Within this folder, I added a ‘Stock’ class. In the ‘Stock’ class, I defined the following properties: Id, Symbol, CompanyName, and Price.
namespace CandleWise.Models
{
    public class Stock
    {
        public long Id { get; set; }

				public string Symbol { get; set; } = string.Empty;

				public string CompanyName { get; set; }

				public float Price { get; set; } = 0;
    }
}
Set Up StockController
StockController was responsible for the main functionalities of my application, including creating, updating, and deleting stocks. In the Controllers folder, I renamed the default created WeatherForecastController.cs file to StockController.cs and replaced its content with the following:
using CandleWise.Models;
using Microsoft.AspNetCore.Mvc;

namespace CandleWise.Controllers
{
    [ApiController]
    [Route("api/[controller]")]
    public class StockController : ControllerBase
    {
        [HttpGet]
        public IEnumerable<Stock> Get()
        {
            // For simplicity, returning a few sample stocks.
            var stocks = new List<Stock>
                {
                new Stock { Symbol = "AAPL", CompanyName = "Apple", Price = 1500.01M },
                new Stock { Symbol = "GOOGL", CompanyName = "Google", Price = 2800.03M },
                new Stock { Symbol = "MSFT", CompanyName = "Microsoft", Price = 300.22M }
                };

            return stocks;
        }
    }
}
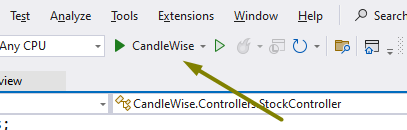
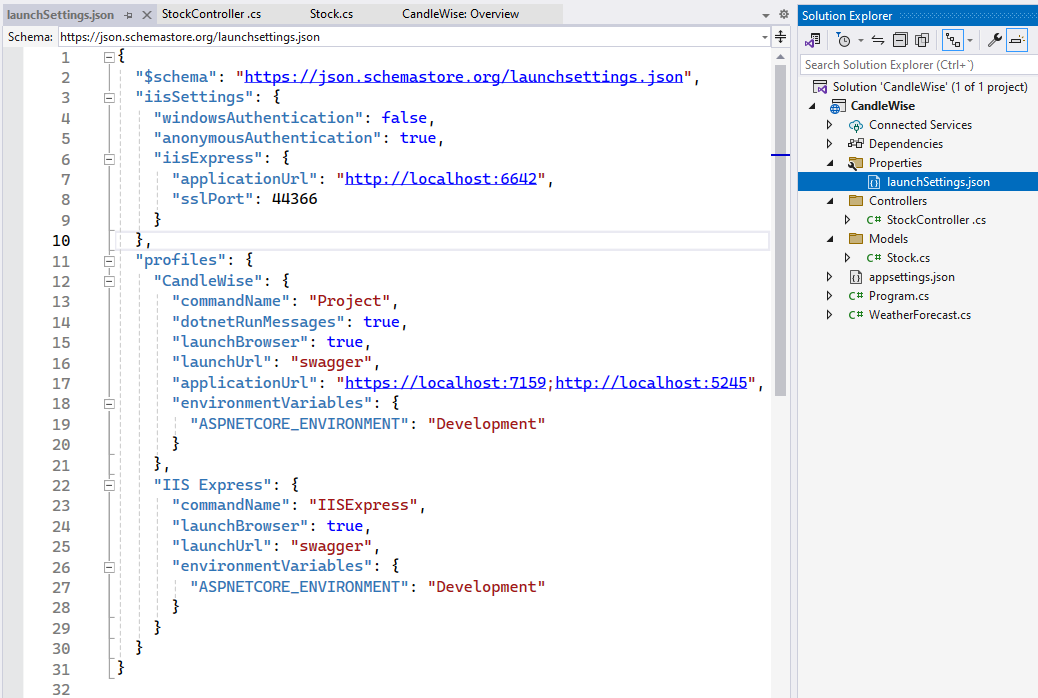
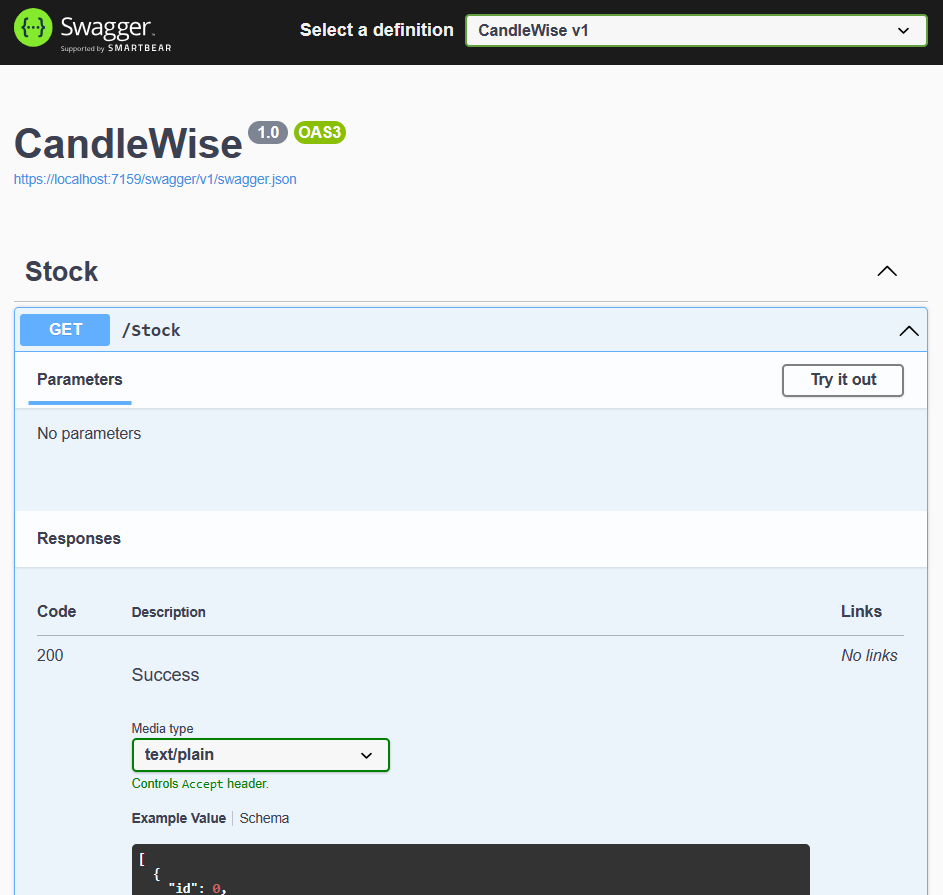
This controller exposed a GET method at the endpoint ‘api/stock’. This method returned a few sample stocks, which allowed me to test my API and ensure it was functioning correctly. I ran the app to see some results. I clicked on the “Run” button that contained the project name. This launched the CandleWise Web API. Once the application was running, a new browser tab showed and navigated to the URL specified in the “launchSettings.json” file. In my case https://localhost:7159/swagger/index.html.
I encountered the Swagger dashboard, a powerful tool that provided an interactive interface for testing my API endpoints. The Swagger UI allowed me to explore available endpoints, make requests, and view responses directly from the browser. In my case, I located the “StockController” endpoint and clicked on the “GET” operation to see the sample stocks returned by my API. This interactive documentation not only facilitated testing but also served as a comprehensive guide for developers interacting with my API. It was a valuable resource during development and when collaborating with others on my CandleWise project. I clicked the Try it out button then the Execute button.
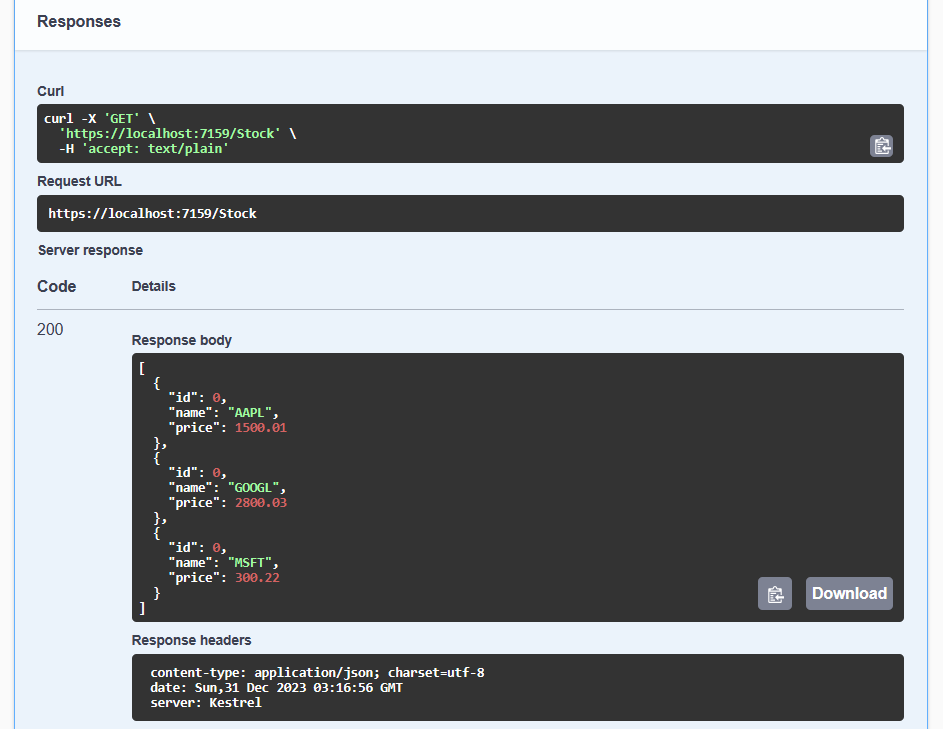
After clicking the “Execute” button on the Swagger UI for the “GET” operation of the “StockController,” I saw the response appear right below. It displayed the sample stocks that I had defined in my StockController’s Get method.
The response looked something like this:
[
  {
    "symbol": "AAPL",
    "companyName": "Apple Inc.",
    "price": 1500.00
  },
  {
    "symbol": "GOOGL",
    "companyName": "Alphabet Inc.",
    "price": 2800.00
  },
  {
    "symbol": "MSFT",
    "companyName": "Microsoft Corporation",
    "price": 300.00
  }
]
I used dummy data to test my API’s functionality and verify its interaction with the ‘Stock’ model. While effective for initial testing, this approach didn’t reflect the dynamic nature of stock prices.
In upcoming sections, I planned to integrate with a third-party data provider to fetch real-time stock quotes. This would transform my application from a static test environment to a dynamic system that displays current market data, giving users accurate, up-to-date information.
Conclusion
This first post in my series on building a stock exchange system with .NET Core 6 covered setting up the development environment. I installed Visual Studio and .NET Core 6.0 SDK, then created an ASP.NET Core Web API project. This was just the beginning - future posts would explore creating my first model and implementing a simple API endpoint.