Medical Calls Analysis in AWS (Part 1) - Getting Started
Published: April 27, 2024
Github Repo: https://github.com/pedropcamellon/medical-calls-analysis-aws
Introduction
AI-powered medical call analysis is revolutionizing healthcare delivery. Using Amazon Bedrock and cloud technologies, providers can automatically convert patient conversations into searchable records, reducing administrative work while enabling data-driven decisions and improved patient care.
This series will demonstrate building an end-to-end system using AWS services to analyze medical call transcripts. In this first part of the series, we will focus on establishing a secure foundation by creating an AWS account and setting up proper security practices through IAM (Identity and Access Management). This includes creating a dedicated IAM user with appropriate permissions, implementing security best practices, and configuring the AWS CLI for programmatic access. Then we will use Amazon S3 for storing audio files, Amazon Transcribe for speech-to-text conversion and Amazon Bedrock’s LLM capabilities for analysis. Deploying the system logic through AWS Lambda will guarantee scalability. The system will include comprehensive logging to monitor performance, accuracy, and provide insights for continuous improvement.
Create AWS account and an IAM user
Before we dive into medical call analysis with AWS services, we need to create an AWS account to access the required cloud infrastructure. Second, following AWS best practices, we’ll set up a dedicated IAM user instead of using the root account, which provides enhanced security through limited permissions, access tracking, root credential protection, and programmatic access capabilities.
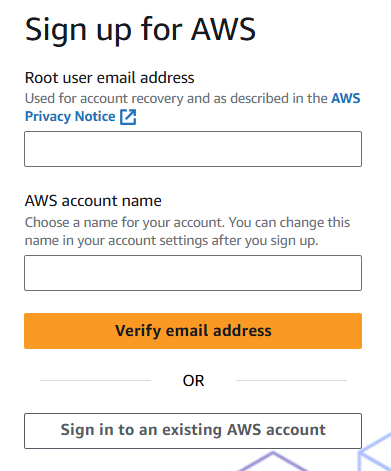
To create an AWS account, visit aws.amazon.com and click ‘Create an AWS account’. Follow the setup steps to create your root user account, which has full access to all AWS services. While the root user has unlimited privileges, it’s recommended to use it only for essential administrative tasks and protect its credentials carefully.
For security, AWS recommends creating individual IAM users instead of using the root account for daily operations, even for users with administrative permissions. IAM users are identities within your AWS account with specific permissions. Each IAM user has unique security credentials - either access keys for programmatic access or passwords for console access. Unlike the root user with unlimited access, IAM users can only perform tasks they’re explicitly granted permission to do.
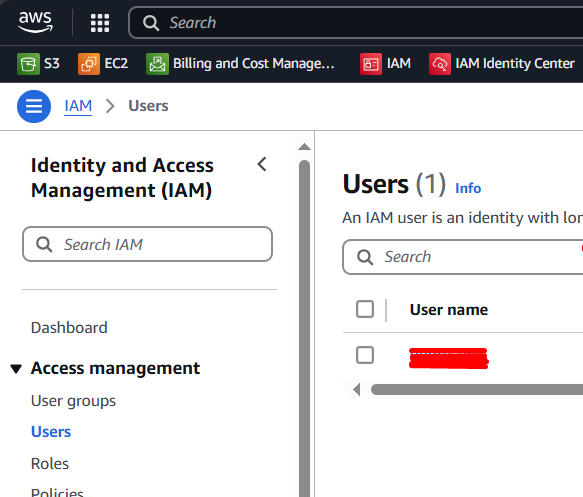
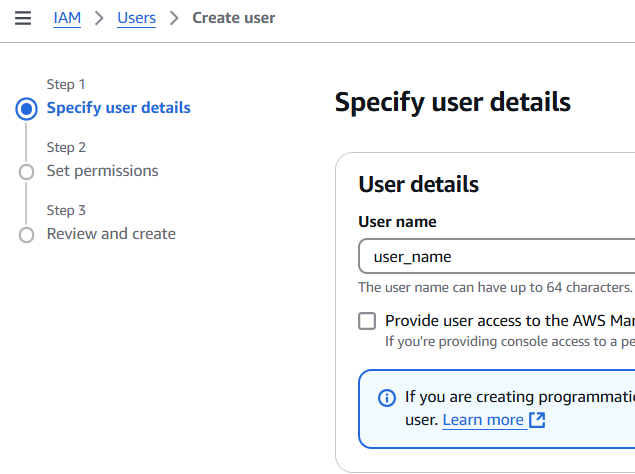
To create an IAM user, sign in to the AWS Management Console, go to IAM, click “Users” then “Create User”. Enter a username and click “Next”.
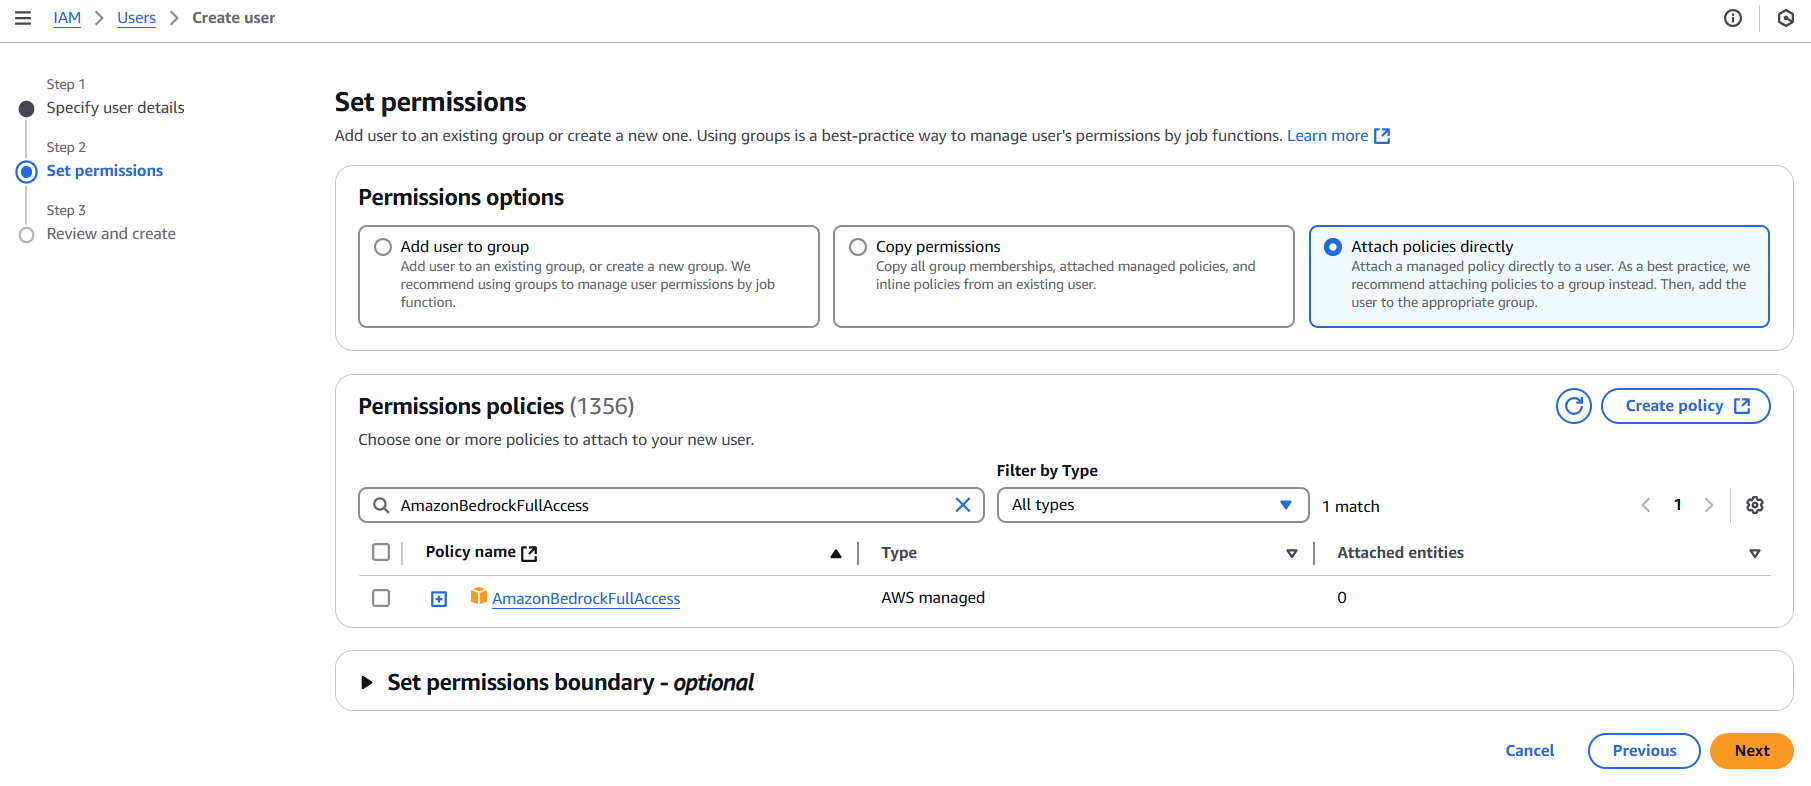
After the user is created, you need to set permissions. Click on ‘Attach existing policies directly’, and in the search bar, type “Bedrock” to find the AmazonBedrockFullAccess policy. Select this policy to grant full access to the Amazon Bedrock service. Click “Next”.
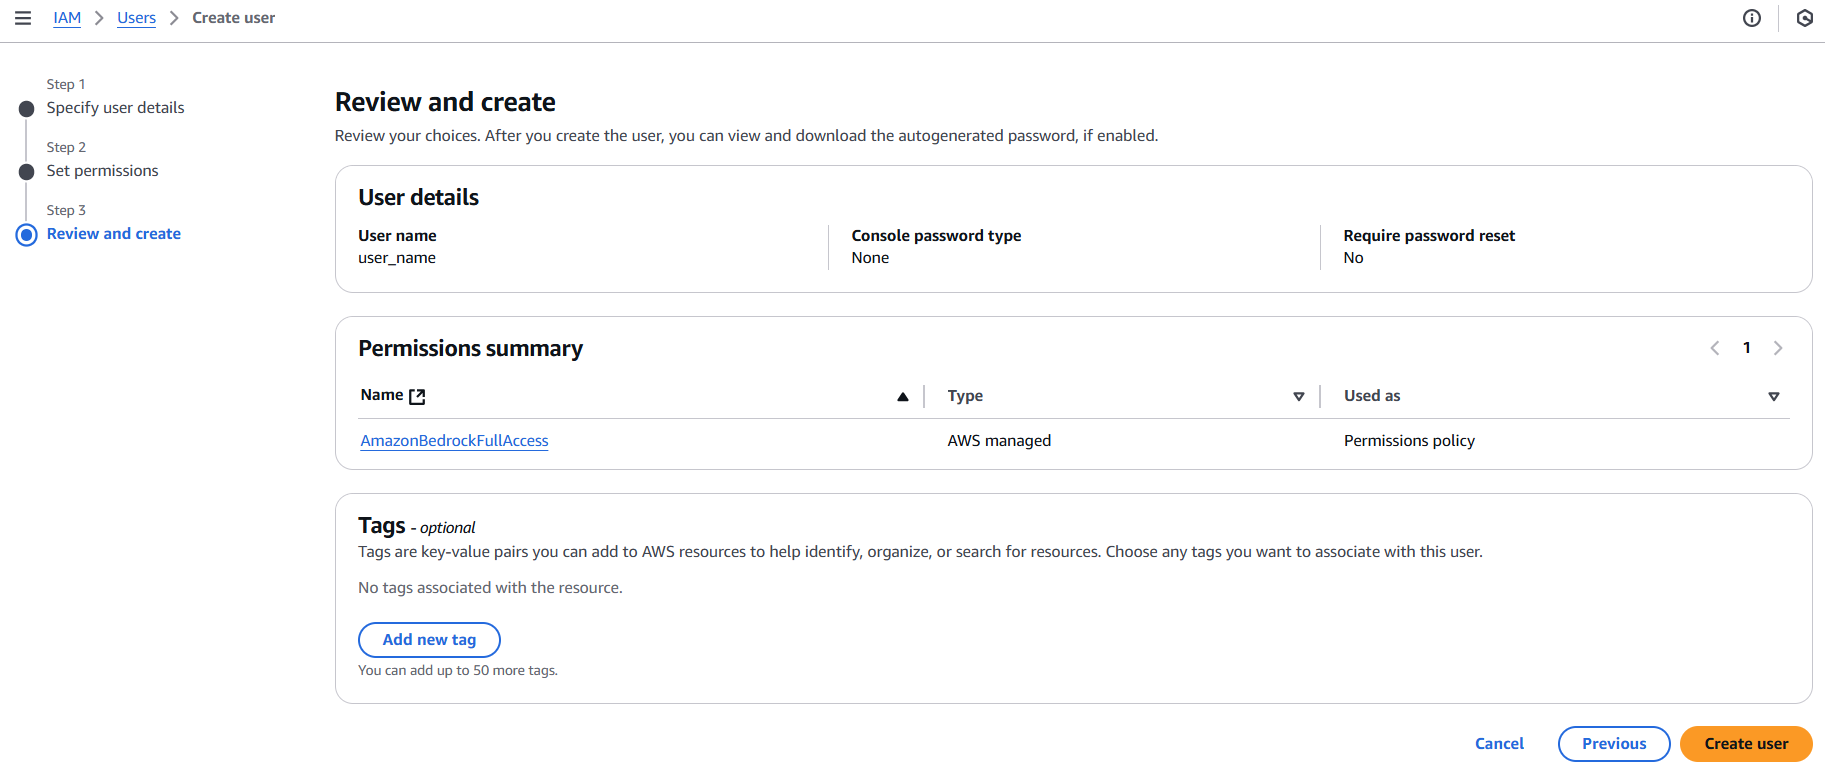
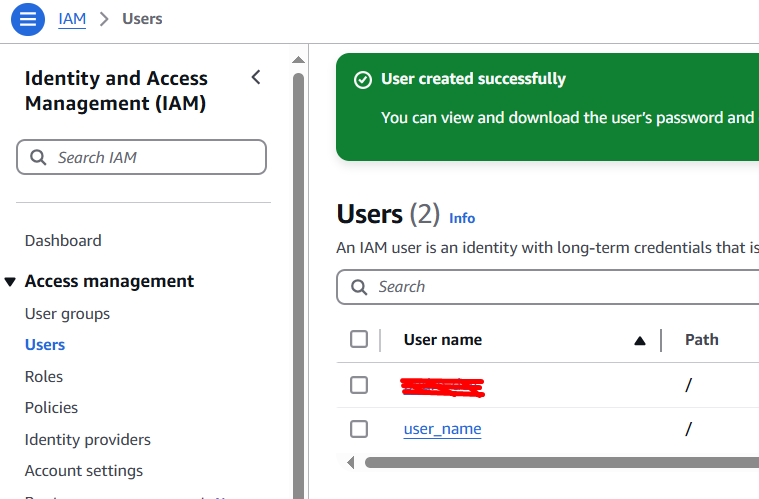
Review the details and click Create.
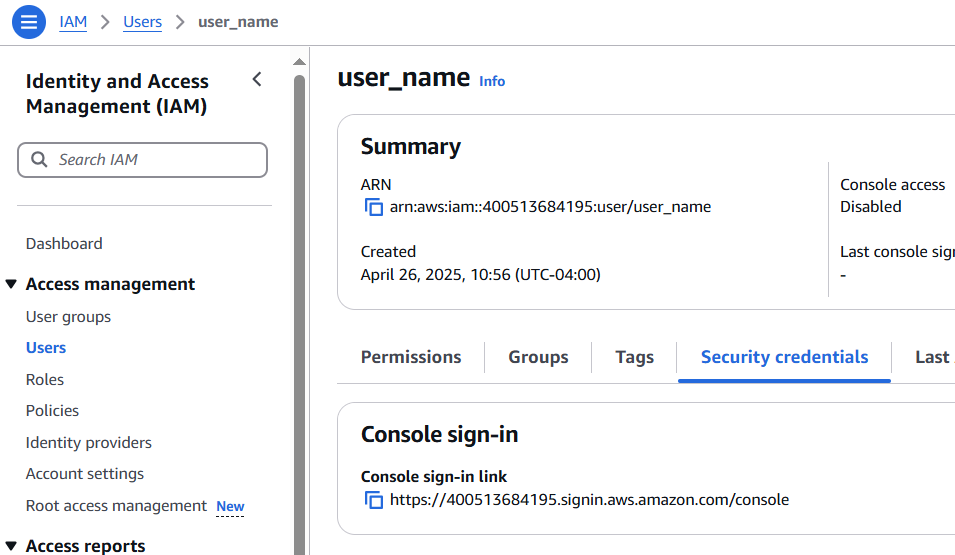
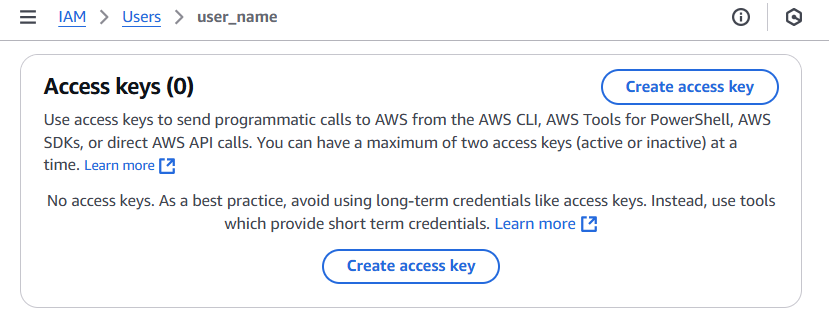
Lastly, you need to create new access keys for your IAM user. In the IAM console, select your user and click on the ‘Security credentials’ tab. Under ‘Access keys’, click on ‘Create access key’. This will generate a new set of keys. Make sure to download and securely store these keys; you’ll need them to configure your AWS CLI.
Install and Configure the AWS CLI
To install and configure the AWS CLI on a Windows system, ensure you’re operating on a Microsoft-supported version of 64-bit Windows and have the necessary administrative rights. Download and run the AWS CLI MSI installer for Windows (64-bit) from here, or alternatively, use the msiexec command. For silent installations, use the /qn flag. After installation, open the command prompt by searching for cmd in the Start menu and confirm the installation by running the aws --version command. If the program isn’t found, refresh the path by reopening the command prompt. Once the installation is successful, run aws configure using your access keys and set the default region. More detailed information can be found here.
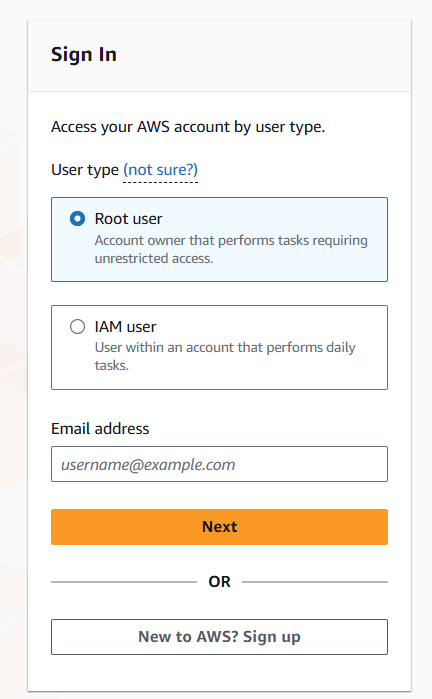
After you’ve successfully created your AWS account and set up an Identity and Access Management (IAM) user, the next step involves logging into the AWS console. However, instead of using your root account, you should log in using the credentials of the newly created IAM user. This is a best practice recommended by AWS, as it provides added security for your account.
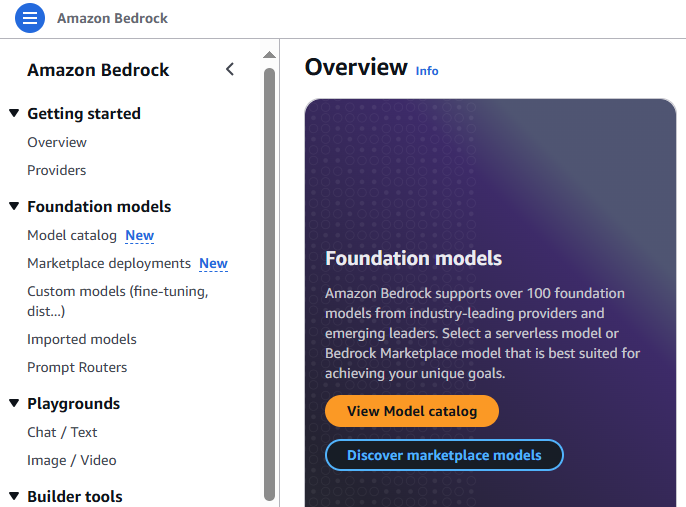
Amazon Bedrock
Amazon Bedrock is a fully managed service provided by AWS that offers access to high-performing foundation models from leading AI companies. Developers can customize these models privately with their own data through techniques like fine-tuning and Retrieval Augmented Generation (RAG). They can also build agents that execute tasks using enterprise systems and data sources. Being serverless, Amazon Bedrock eliminates infrastructure management needs, making it simple to securely integrate and deploy generative AI capabilities into applications using familiar AWS services.
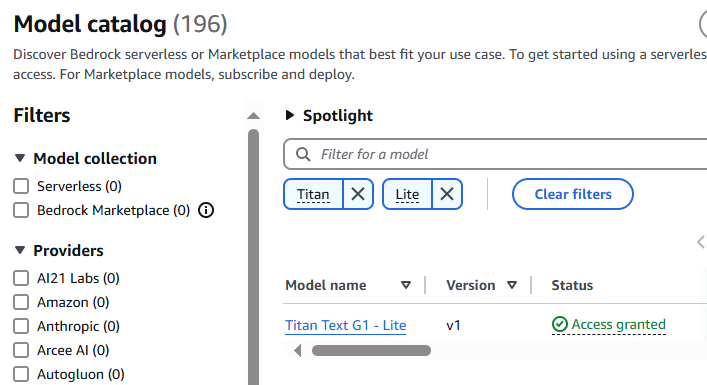
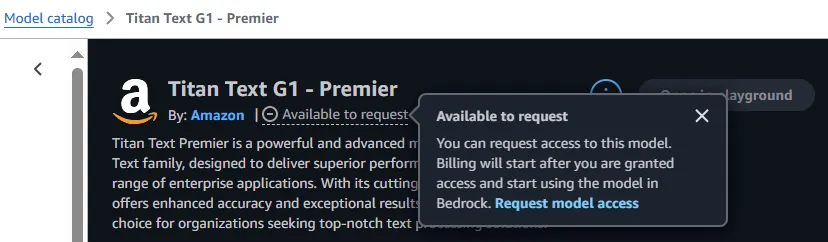
Request Model Access
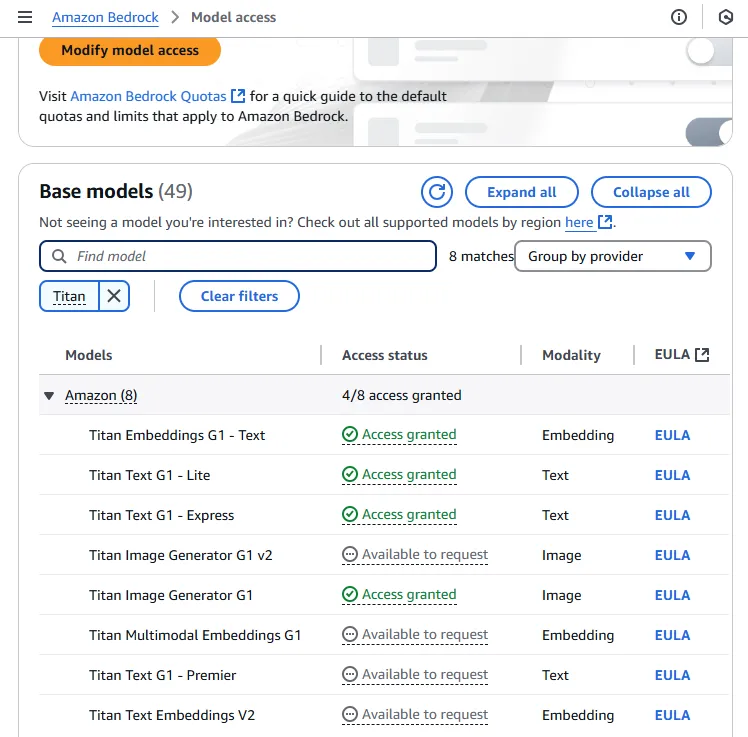
To use Bedrock serverless models, account users with the correct IAM Permissions must enable access to available Bedrock foundation models (FMs). I requested access to Amazon Titan Lite, but this same process can be followed to request access to any of the foundation models available in Amazon Bedrock. Each model has its own strengths and specialized use cases.
Boto3 - AWS Python SDK
We’ll use the Boto3 library, the official AWS Python SDK. It provides both a high-level object-oriented API and low-level direct service access. With Boto3, you can write software that interacts with AWS services like Amazon S3, Amazon EC2, and others. It enables programmatic access to AWS services from Python scripts for creating, configuring, and managing resources. Boto3 is particularly valuable for serverless computing, as it provides a direct interface to AWS services.
To ensure compatibility and avoid any potential issues, make sure you have Python 3.11 installed on your system. You can verify your Python version by running python --version in your terminal.
Install the specific version of Boto3 by running:
pip install boto3==1.28.68
Generating the first model response
First, you need to import the necessary packages and create a Bedrock runtime client using Boto3:
import boto3
import json

bedrock_runtime = boto3.client('bedrock-runtime', region_name='us-east-1')
After running this line, you can use bedrock_runtime to make requests to the Bedrock service.
I will provide a simple and straightforward prompt which requires the model to generate a single sentence providing a brief overview of Miami.
prompt = "Write a one sentence summary of Miami.”
To make a service call, you need to define several arguments in a dictionary called kwargs. This includes the modelId (which specifies the model to use, such as “amazon.titan-text-lite-v1”), contentType (“application/json” for request parsing), accept (“/” for accepting any response type), and body (a JSON-encoded dictionary containing the input text prompt). With these arguments defined, we can invoke the model.
kwargs = {
    "modelId": "amazon.titan-text-lite-v1",
    "contentType": "application/json",
    "accept": "*/*",
    "body": json.dumps(
        {
            "inputText": prompt
        }
    )
}

response = bedrock_runtime.invoke_model(**kwargs)
The response provided is a dictionary that contains metadata about the serverless function invocation. The ResponseMetadata key includes an HTTPStatusCode of 200, indicating that the request was successful. The HTTPHeaders key contains information about the request, such as the date it was made, the content type, and the length of the content. It also includes Amazon-specific information, such as the request ID, and various Bedrock counts. The RetryAttempts key shows that the request was not retried. The contentType key indicates that the content returned is in JSON format, and the body key contains a StreamingBody object, which is the actual content of the response.
This response is not the actual data we’re interested in; instead, it’s a pointer to a StreamingBody object. That object is where the data we want is stored. This kind of response is quite common when working with the boto3 library and AWS endpoints.
{
  "ResponseMetadata": {
    "RequestId": "a58a7c07-00d1-4e08-b165-665b3670fb71",
    "HTTPStatusCode": 200,
    "HTTPHeaders": {
      "date": "Mon, 19 Feb 2024 06:54:06 GMT",
      "content-type": "application/json",
      "content-length": "181",
      "connection": "keep-alive",
      "x-amzn-requestid": "a58a7c07-00d1-4e08-b165-665b3670fb71",
      "x-amzn-bedrock-invocation-latency": "889",
      "x-amzn-bedrock-output-token-count": "17",
      "x-amzn-bedrock-input-token-count": "9"
    },
    "RetryAttempts": 0
  },
  "contentType": "application/json",
  "body": "<botocore.response.StreamingBody object at 0x000001EE1E3E8730>"
}
In order to get the actual text response from the server, use response_body = json.loads(response.get('body').read()). This reads the body of the server response, which is typically in JSON format, and then converts it into a Python dictionary. This allows us to easily access the data returned by the server.
The output should be like this:
{
  "inputTextTokenCount": 8,
  "results": [
    {
      "tokenCount": 21,
      "outputText": "Miami is a major city in Florida known for its beautiful beaches, vibrant culture, and rich history.",
      "completionReason": "FINISH"
    }
  ]
}
This output details the input text token count, the result including the token count and output text, and finally, the reason for completion. The final cleaned response is obtained using the following code:
print(response_body['results'][0]['outputText'])
When executed, it will return:
"Miami is a major city in Florida known for its beautiful beaches, vibrant culture, and rich history."
Conclusions
In this article, we covered essential steps from setting up an AWS environment to making your first API call to a Large Language Model. We began with AWS account creation and IAM user setup, emphasizing security best practices through proper access policies. We then explored Amazon Bedrock’s capabilities and the process of requesting model access. Finally, we demonstrated how to use the Boto3 SDK to interact with these models programmatically, successfully generating our first model response.
Next, we will set up a transcription service that will monitor an S3 bucket for new audio files and generate JSON files containing the transcribed text.